
How Do You Make Item Frames in Minecraft? A Comprehensive Guide
Minecraft, the sandbox video game sensation, allows players to build, explore, and craft a virtually limitless world. Among the many decorative and functional items available, the item frame stands out as a versatile tool. But how do you make item frames in Minecraft? This guide will provide a comprehensive walkthrough, covering everything from gathering materials to utilizing your newly crafted frames.
Item frames serve several purposes within the game. They allow you to display items, maps, and even blocks, adding a touch of personalization to your builds. They can also be used as markers, helping you navigate your expansive world. Understanding how do you make item frames in Minecraft is essential for both aesthetic and practical reasons.
Understanding Item Frames
Before diving into the crafting process, let’s clarify what item frames are and why they are useful.
What are Item Frames?
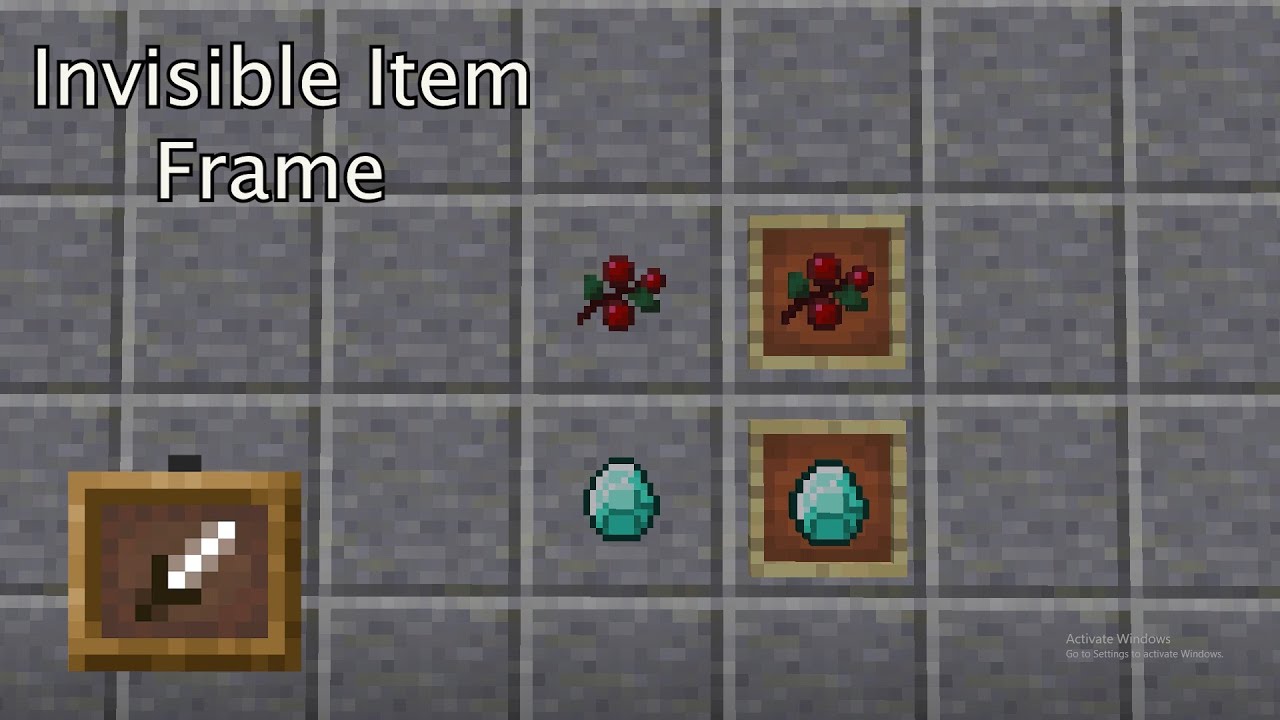
Item frames are decorative blocks that can hold and display items. When placed on a wall or other surface, they provide a visual representation of whatever is placed inside. The item will rotate when interacted with, allowing different orientations. This functionality makes them useful for more than just decoration; they can also serve as a simple coding or notification system when playing with friends.
Why Use Item Frames?
- Decoration: Display your favorite tools, weapons, or rare items.
- Map Display: Showcase maps of your explored territories.
- Markers: Use them to mark important locations, such as your base, mines, or other points of interest.
- Organization: Label chests or storage areas with the items they contain.
- Redstone Circuits: Activate redstone circuits based on the item displayed and its orientation.
Gathering the Necessary Materials
To create an item frame, you’ll need two essential ingredients: sticks and leather. Let’s break down how to acquire each.
Collecting Sticks
Sticks are one of the most basic and readily available resources in Minecraft. They are crafted from wood planks.
- Find a Tree: Locate any tree in the game world.
- Obtain Wood Logs: Use an axe (or your hand) to break the tree logs.
- Craft Wood Planks: Place the wood logs in your crafting grid to create wood planks. Each log yields four planks.
- Craft Sticks: Place two wood planks vertically in your crafting grid to create sticks. Two planks will yield four sticks.
You will need eight sticks to craft an item frame, so gather accordingly.
Obtaining Leather
Leather is obtained from animals, primarily cows, horses, llamas, and mooshrooms. Finding these animals is usually straightforward, especially in grassy biomes.
- Locate Animals: Search for cows, horses, llamas, or mooshrooms in your game world.
- Obtain Leather: Kill the animals to obtain leather. Each animal typically drops 0-2 pieces of leather. Using a looting enchanted sword can increase the amount of leather dropped.
You only need one piece of leather per item frame, making it a relatively easy resource to acquire.
Crafting the Item Frame
Now that you have gathered the necessary materials – eight sticks and one piece of leather – you are ready to craft an item frame. Here’s how:
- Open Your Crafting Table: Interact with a crafting table to open its crafting grid.
- Arrange the Materials: Place the materials in the following pattern:
- Place one piece of leather in the center slot.
- Surround the leather with eight sticks, filling all remaining slots in the crafting grid.
- Craft the Item Frame: Take the item frame from the output slot.
Congratulations! You’ve successfully crafted an item frame. You can now place it on any solid surface.
Placing and Using Item Frames
Once you have your item frame, you can place it on any solid surface. Here’s how to do it and how to utilize it effectively.
Placement
To place an item frame:
- Select the Item Frame: Ensure the item frame is selected in your hotbar.
- Choose a Surface: Find a wall, floor, or ceiling where you want to place the frame.
- Place the Frame: Right-click (or use the equivalent control on your platform) on the surface.
The item frame will attach to the surface. You can break it by hitting it, and it will drop itself as an item.
Inserting Items
To insert an item into the frame:
- Select the Item: Ensure the item you want to display is selected in your hotbar.
- Interact with the Frame: Right-click (or use the equivalent control on your platform) on the item frame.
The selected item will appear inside the frame. Each subsequent right-click will rotate the item, allowing you to choose the desired orientation.
Removing Items
To remove an item from the frame, simply right-click on the frame when you don’t have an item selected in your hand. The item will pop out, and you can pick it up.
Advanced Uses of Item Frames
Beyond basic decoration, item frames can be used in more sophisticated ways.
Map Walls
One popular use is creating map walls. By placing multiple item frames adjacent to each other and inserting maps, you can create a large, seamless display of your explored world. This is especially useful for navigation and planning.
- Create Maps: Craft maps using compasses and paper.
- Explore: Explore the areas you want to map.
- Place Item Frames: Place item frames in a grid pattern on a wall.
- Insert Maps: Insert the maps into the frames, ensuring they align to create a complete picture.
Secret Entrances
Item frames can be used to conceal secret entrances. By placing an item frame on a wall and inserting a block that matches the wall’s texture, you can create a hidden door. Place a painting on the same wall to hide the item frame further.
Redstone Mechanisms
Item frames can interact with redstone circuits. When an item is rotated inside the frame, it emits a redstone signal. This can be used to trigger doors, lights, or other mechanisms. This feature is particularly useful for creating complex and hidden contraptions. [See also: Minecraft Redstone Guide]
Troubleshooting
Sometimes, you might encounter issues when crafting or using item frames. Here are some common problems and solutions:
- Cannot Craft Item Frame: Ensure you have the correct number of sticks and leather. Double-check the crafting recipe.
- Item Frame Not Placing: Make sure you are trying to place the frame on a solid surface. Some blocks, like glass, do not support item frame placement.
- Item Not Inserting: Ensure the item is selected in your hotbar. You may be accidentally breaking the frame instead of interacting with it.
Conclusion
Understanding how do you make item frames in Minecraft is a valuable skill for any player. Whether you’re looking to decorate your base, create functional markers, or delve into advanced redstone contraptions, item frames offer a versatile solution. By following this guide, you can easily craft and utilize item frames to enhance your Minecraft experience. Now that you know how do you make item frames in Minecraft, go forth and decorate!
From humble beginnings chopping trees and hunting animals, you can transform simple ingredients into powerful tools for creativity and functionality. Mastering the art of crafting item frames opens up a world of possibilities, allowing you to personalize your Minecraft experience in countless ways. So, embrace the crafting process, experiment with different designs, and let your imagination run wild. Happy crafting!
