
How to Add Categories in Google Calendar: A Comprehensive Guide
Effectively managing your time and schedule is crucial in today’s fast-paced world. Google Calendar offers a robust platform for organizing your events, appointments, and reminders. However, to truly maximize its potential, understanding how to add categories in Google Calendar is essential. This guide will walk you through the process of creating and using categories (also known as labels or color-coding) to streamline your calendar and enhance your productivity.
By learning how to add categories in Google Calendar, you can visually distinguish different types of events, such as work meetings, personal appointments, and social gatherings. This makes it easier to quickly identify and prioritize tasks, ultimately leading to better time management and reduced stress. Let’s dive into the steps and benefits of organizing your calendar with categories.
Understanding Google Calendar Categories
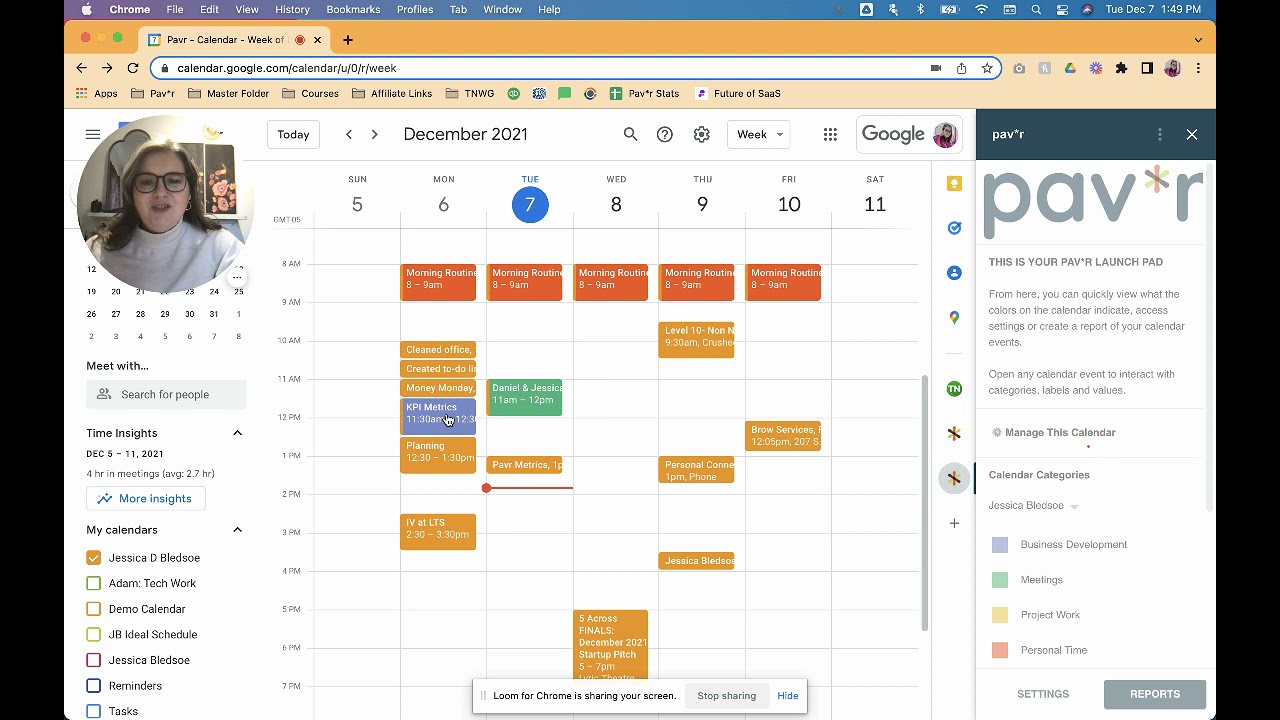
While Google Calendar doesn’t have a built-in feature explicitly labeled as “categories,” you can achieve the same effect using multiple calendars and color-coding. This approach allows you to visually categorize events and filter them based on specific criteria. Each calendar you create can represent a different category, such as “Work,” “Personal,” “Family,” or “Projects.”
Why Use Categories in Google Calendar?
- Improved Organization: Categories help you visually separate and organize different aspects of your life within your calendar.
- Enhanced Productivity: Quickly identify and prioritize events based on their category.
- Simplified Filtering: Easily filter your calendar to display only events from specific categories.
- Better Time Management: Gain a clearer overview of how you’re spending your time across different areas of your life.
- Reduced Stress: Avoid confusion and stay on top of your schedule with a well-organized calendar.
Step-by-Step Guide: How to Add Categories in Google Calendar
Here’s a detailed guide on how to add categories in Google Calendar using multiple calendars and color-coding:
Step 1: Create a New Calendar for Each Category
The first step in learning how to add categories in Google Calendar is to create separate calendars for each category you want to track. Here’s how:
- Open Google Calendar: Go to calendar.google.com and sign in to your Google account.
- Find “Other calendars”: In the left sidebar, scroll down and find the “Other calendars” section.
- Click the “+” button: Click the plus button next to “Other calendars” and select “Create new calendar.”
- Name Your Calendar: Enter a name for your calendar that reflects the category it will represent (e.g., “Work Meetings,” “Personal Appointments,” “Gym”).
- Add a Description (Optional): You can add a description to provide more context about the calendar’s purpose.
- Click “Create calendar”: Click the “Create calendar” button to save your new calendar.
Repeat these steps for each category you want to add to your Google Calendar. This is the foundation of understanding how to add categories in Google Calendar.
Step 2: Assign Colors to Each Category
Color-coding is a crucial aspect of how to add categories in Google Calendar. It allows you to visually distinguish between different types of events at a glance. Here’s how to assign colors to your newly created calendars:
- Find Your Calendar: In the left sidebar, locate the calendar you want to assign a color to.
- Click the Three Dots: Hover over the calendar name and click the three vertical dots (Options).
- Choose a Color: Select a color from the color palette that appears. Choose colors that are easily distinguishable and meaningful to you.
Repeat this process for each calendar, assigning a unique color to each category. This visual distinction is a key component of how to add categories in Google Calendar effectively.
Step 3: Adding Events to Specific Categories
Now that you’ve created your categories and assigned colors, it’s time to start adding events to the appropriate calendars. This is where the real organization begins, showing you the practical application of how to add categories in Google Calendar.
- Create a New Event: Click on the date and time you want to add an event, or click the “Create” button in the top left corner.
- Enter Event Details: Add a title, time, and any other relevant details for your event.
- Select the Calendar: Before saving, click on the calendar dropdown menu (usually displays your default calendar name) and select the calendar that corresponds to the category of the event. For instance, if it’s a work meeting, select your “Work Meetings” calendar.
- Save the Event: Click “Save” to add the event to the selected calendar.
By consistently assigning events to the correct calendar, you’ll maintain a well-organized and visually clear calendar. This is the core principle of how to add categories in Google Calendar.
Step 4: Viewing and Filtering Categories
One of the biggest advantages of using categories is the ability to filter your calendar view. This allows you to focus on specific areas of your life and avoid feeling overwhelmed by a cluttered schedule. This section explains how to view and filter categories, a crucial skill when learning how to add categories in Google Calendar.
- Show/Hide Calendars: In the left sidebar, you’ll see a list of all your calendars. To show or hide events from a specific category, simply click on the corresponding calendar name. A checked box indicates that the calendar is visible, while an unchecked box hides it.
- Focus on Specific Categories: By hiding all calendars except the one(s) you want to focus on, you can easily view only the events related to those categories.
This filtering capability is a powerful tool for managing your time and priorities, and it’s a direct result of knowing how to add categories in Google Calendar.
Advanced Tips for Using Categories in Google Calendar
Once you’ve mastered the basics of how to add categories in Google Calendar, you can explore some advanced tips to further enhance your calendar management:
Using Shared Calendars for Team Collaboration
Google Calendar allows you to share calendars with others, making it an excellent tool for team collaboration. You can create a shared calendar for a specific project or team and assign events to it. This ensures that everyone stays informed and on the same page. The skills you’ve learned about how to add categories in Google Calendar are easily transferable to shared calendars.
Integrating Categories with Other Google Services
Google Calendar seamlessly integrates with other Google services, such as Gmail and Google Meet. You can automatically add events from Gmail to your calendar and create Google Meet meetings directly from your calendar events. This integration streamlines your workflow and saves you time. Understanding how to add categories in Google Calendar helps you organize these integrated events as well.
Customizing Event Notifications
You can customize the notification settings for each calendar, ensuring that you receive timely reminders for important events. This is particularly useful when you have different notification preferences for different categories. For example, you might want to receive more frequent reminders for work meetings than for personal appointments. Knowing how to add categories in Google Calendar allows you to tailor notifications to each category’s specific needs.
Troubleshooting Common Issues
While the process of how to add categories in Google Calendar is generally straightforward, you might encounter some common issues. Here are a few troubleshooting tips:
- Events Appearing on the Wrong Calendar: Double-check that you’ve selected the correct calendar when creating or editing an event.
- Colors Not Displaying Correctly: Ensure that you’ve assigned colors to each calendar. If the colors are still not displaying correctly, try refreshing your browser or clearing your cache.
- Shared Calendars Not Syncing: Verify that you have the necessary permissions to access the shared calendar. If the calendar is still not syncing, contact the calendar owner for assistance.
Conclusion
Learning how to add categories in Google Calendar is a simple yet powerful way to enhance your organization, productivity, and time management. By using multiple calendars and color-coding, you can visually distinguish different types of events, filter your calendar view, and stay on top of your schedule. Whether you’re managing work projects, personal appointments, or family activities, categories can help you streamline your calendar and achieve your goals. So, take the time to implement these techniques and experience the benefits of a well-organized Google Calendar. Mastering how to add categories in Google Calendar is an investment in your own efficiency and peace of mind. Remember to consistently apply the principles of how to add categories in Google Calendar to maintain a well-organized and efficient schedule. Knowing how to add categories in Google Calendar is more than just a skill; it’s a pathway to better time management and a more organized life. Don’t underestimate the power of how to add categories in Google Calendar to transform your daily routine and boost your productivity. Embrace the art of how to add categories in Google Calendar and unlock the full potential of your Google Calendar experience. The ability to how to add categories in Google Calendar is a valuable asset in today’s fast-paced world. Finally, understanding how to add categories in Google Calendar can significantly improve your overall well-being by reducing stress and increasing control over your time.
[See also: Google Calendar Tips and Tricks for Productivity]
[See also: How to Share Your Google Calendar with Others]
[See also: Mastering Google Calendar Reminders]
