
How to Back Up Google Photos: A Comprehensive Guide
In today’s digital age, photos are more than just snapshots; they’re memories, stories, and precious moments captured in time. Google Photos has become a popular choice for storing and organizing these digital treasures, offering a convenient and accessible platform. However, relying solely on a single platform, even one as robust as Google Photos, can be risky. What if your account gets compromised? What if Google Photos experiences an outage? That’s why knowing how to back up Google Photos is crucial for safeguarding your irreplaceable memories.
This comprehensive guide will walk you through various methods to ensure your Google Photos are securely backed up, providing peace of mind knowing your precious memories are safe and accessible, even in unforeseen circumstances. We’ll explore different options, from downloading individual photos to utilizing third-party backup solutions, and help you choose the method that best suits your needs and technical expertise.
Why Back Up Google Photos?
Before diving into the “how,” let’s address the “why.” While Google Photos offers a reliable service, several reasons warrant creating a backup:
- Account Security: Hacking and account breaches are unfortunately common. A backup ensures your photos are safe even if your Google account is compromised.
- Accidental Deletion: We’ve all been there – accidentally deleting a photo or album. A backup provides a safety net for such mishaps.
- Google Photos Outages: While rare, Google Photos can experience outages. A backup allows you to access your photos even during these periods.
- Service Changes: Google’s services and policies can change. Having a backup gives you control over your data and protects against potential future changes.
- Data Portability: A backup allows you to easily move your photos to another platform if you choose to switch services.
Methods to Back Up Google Photos
Now, let’s explore the various methods for backing up your Google Photos. Each method has its pros and cons, so consider your needs and technical skills when making your choice.
Downloading Individual Photos and Videos
The simplest method is to download individual photos and videos directly from Google Photos. This is ideal for backing up a small number of files.
- Open Google Photos: Go to photos.google.com in your web browser.
- Select the Photo: Click on the photo or video you want to download.
- Download: Click the three vertical dots in the top right corner and select “Download.”
Pros: Simple, straightforward, and requires no additional software.
Cons: Time-consuming for large quantities of photos and videos.
Downloading Albums
If you want to back up entire albums, you can download them as ZIP files.
- Open Google Photos: Go to photos.google.com in your web browser.
- Select Albums: Click on “Albums” in the left-hand menu.
- Open the Album: Click on the album you want to download.
- Download All: Click the three vertical dots in the top right corner and select “Download all.” The album will be downloaded as a ZIP file.
Pros: Convenient for backing up entire albums at once.
Cons: Still time-consuming for backing up a large library, and ZIP files need to be extracted.
Using Google Takeout
Google Takeout is a powerful tool that allows you to export all your data from various Google services, including Google Photos. This is the recommended method for backing up your entire Google Photos library.
- Go to Google Takeout: Visit takeout.google.com.
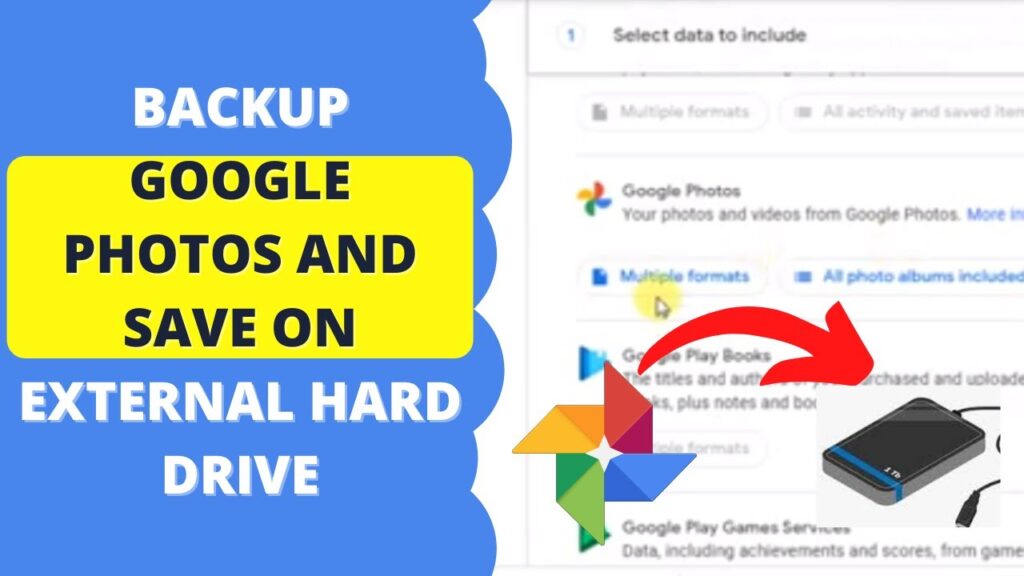
- Select Google Photos: Deselect all services except Google Photos.
- Customize the Export: Click “All photo albums included” to select specific albums or download everything.
- Choose File Type and Size: Select the file type (.zip or .tgz) and the maximum file size (e.g., 50GB). Smaller file sizes will result in multiple ZIP files.
- Create Export: Click “Create export.” Google will then prepare your archive, which may take hours or even days depending on the size of your library.
- Download the Archive: Once the archive is ready, you’ll receive an email with a download link. Download the ZIP files and extract them to your desired location.
Pros: Backs up your entire Google Photos library, including metadata.
Cons: Can take a significant amount of time, and requires a stable internet connection. Requires extracting ZIP files.
Using Third-Party Backup Solutions
Several third-party backup solutions can automatically back up your Google Photos to another cloud storage service or an external hard drive. These solutions often offer features like scheduled backups and incremental backups, making the process more convenient.
Some popular options include:
- MultCloud: MultCloud is a web-based service that allows you to manage and transfer files between multiple cloud storage accounts. You can use it to automatically back up your Google Photos to services like Dropbox, OneDrive, or Amazon S3.
- Icedrive: Icedrive is a cloud storage provider that offers zero-knowledge encryption, ensuring your data is secure. It also features a desktop application that can automatically back up your Google Photos.
- Backup Software (e.g., EaseUS Todo Backup): Traditional backup software can be configured to back up the folder where you’ve downloaded your Google Photos archive from Google Takeout. This requires you to first download the archive, but then the software automates the backup process to an external drive or network location.
Pros: Automated backups, often with additional features like encryption and versioning.
Cons: Requires subscribing to a third-party service, and you need to trust the provider with your data.
Syncing with Google Drive (Limited Functionality)
Previously, you could directly sync Google Photos with Google Drive. While this integration is no longer fully supported, you can still access your Google Photos within Google Drive, and any changes made in one service will be reflected in the other. This is not a true backup, as deleting a photo in one location will delete it in the other, but it can provide some level of redundancy.
Pros: Provides some level of redundancy.
Cons: Not a true backup, as changes are synced between Google Photos and Google Drive.
Choosing the Right Backup Method
The best backup method for you depends on your individual needs and technical expertise. Here’s a quick guide:
- Small Number of Photos: Downloading individual photos or albums.
- Entire Library Backup: Google Takeout or a third-party backup solution.
- Automated Backups: Third-party backup solution.
- Budget-Conscious: Google Takeout (free).
Tips for Effective Google Photos Backups
Here are some additional tips to ensure your Google Photos backups are effective:
- Regular Backups: Schedule regular backups to ensure you always have the latest version of your photos.
- Multiple Backup Locations: Consider backing up your photos to multiple locations (e.g., cloud storage and an external hard drive) for added redundancy.
- Verify Your Backups: Periodically check your backups to ensure they are working correctly and that you can access your photos.
- Organize Your Backups: Organize your backups in a logical manner so you can easily find the photos you need.
- Encrypt Your Backups: If you’re concerned about privacy, encrypt your backups to protect your data from unauthorized access.
- Test Restores: Regularly test restoring your photos from your backups to ensure the process works smoothly.
Understanding Google Photos Storage Policies
It’s important to understand Google Photos’ storage policies, especially concerning storage limits and changes to those limits. As of June 1, 2021, Google ended its unlimited free storage for “high quality” photos. Now, all photos and videos, regardless of quality, count towards your Google Account storage, which is shared across Gmail, Google Drive, and Google Photos. This change makes backing up your Google Photos even more critical, as exceeding your storage limit can impact your ability to receive emails or save files to Google Drive.
You can check your current storage usage and purchase additional storage if needed by visiting your Google Account storage page.
The Importance of Metadata
When backing up your Google Photos, it’s crucial to consider the metadata associated with your photos. Metadata includes information such as the date and time the photo was taken, the location, camera settings, and any captions or descriptions you’ve added. This information can be invaluable for organizing and searching your photos later on.
Google Takeout preserves most of the metadata associated with your photos. However, some third-party backup solutions may not preserve all metadata. Be sure to check the documentation of your chosen backup solution to ensure it preserves the metadata you need.
Conclusion
How to back up Google Photos is a crucial skill for anyone who values their digital memories. By following the methods outlined in this guide, you can ensure your precious photos are safe, secure, and accessible, no matter what the future holds. Whether you choose to download individual photos, use Google Takeout, or opt for a third-party backup solution, taking the time to create a backup is an investment in preserving your memories for years to come. Remember to make regular backups, verify their integrity, and consider multiple backup locations for added security. Don’t wait until it’s too late – start backing up your Google Photos today!
Protecting your data is paramount in today’s digital world. Understanding and implementing a robust backup strategy for your Google Photos is a critical step in safeguarding your memories. By taking proactive measures, you can ensure that your photos remain safe and accessible, regardless of unforeseen circumstances.
[See also: Google Photos vs. Other Cloud Storage Options]
[See also: How to Organize Your Google Photos Library]
[See also: Best Practices for Cloud Storage Security]
