
How to Install the LastPass Plugin for Chrome: A Step-by-Step Guide
In today’s digital age, managing passwords can be a daunting task. With countless online accounts requiring unique and strong passwords, it’s easy to become overwhelmed. That’s where password managers like LastPass come in handy. LastPass simplifies your digital life by securely storing your passwords and automatically filling them in when you need them. This guide will walk you through the process of installing the LastPass plugin for Chrome, ensuring you can seamlessly access your passwords and enjoy a safer browsing experience.
The LastPass plugin for Chrome is a browser extension that integrates directly with your Chrome browser. It allows you to access your LastPass vault, generate strong passwords, and automatically fill in login credentials on websites. Installing the LastPass plugin for Chrome is a straightforward process, and this article provides a detailed, step-by-step guide to get you started. Whether you’re a seasoned LastPass user or new to password management, this guide will help you get the LastPass plugin for Chrome up and running quickly and efficiently.
Why Use the LastPass Plugin for Chrome?
Before diving into the installation process, let’s explore the benefits of using the LastPass plugin for Chrome:
- Password Management: The primary function is secure password storage and retrieval. The LastPass plugin for Chrome remembers your passwords, so you don’t have to.
- Auto-Fill: Automatically fills in usernames and passwords on websites, saving you time and effort.
- Password Generation: Creates strong, unique passwords for each of your accounts, improving your online security.
- Security: LastPass uses strong encryption to protect your passwords, keeping them safe from unauthorized access.
- Convenience: Access your passwords from any device with the LastPass plugin for Chrome installed.
- Organization: Keeps your passwords organized and easily accessible.
Step-by-Step Installation Guide
Follow these steps to install the LastPass plugin for Chrome:
Step 1: Open Google Chrome
Ensure you have Google Chrome installed on your computer. If not, download and install it from the official Google Chrome website.
Step 2: Visit the Chrome Web Store
Open Chrome and navigate to the Chrome Web Store. You can do this by typing “Chrome Web Store” into the search bar or directly entering the URL: https://chrome.google.com/webstore.
Step 3: Search for LastPass
In the search bar at the top left of the Chrome Web Store, type “LastPass” and press Enter.
Step 4: Locate the LastPass Plugin
You should see the official LastPass plugin for Chrome in the search results. It will be labeled as “LastPass: Free Password Manager.” Make sure the publisher is “LastPass.”
Step 5: Add to Chrome
Click on the “Add to Chrome” button next to the LastPass plugin for Chrome listing.
Step 6: Confirm Installation
A pop-up window will appear asking for confirmation to add the extension. Click on the “Add extension” button to proceed. This grants the LastPass plugin for Chrome the necessary permissions to function correctly.
Step 7: Verify Installation
Once the installation is complete, you will see a LastPass icon (a red diamond) appear in your Chrome toolbar, usually located at the top right of the browser window. This indicates that the LastPass plugin for Chrome has been successfully installed.
Step 8: Log In or Create an Account
Click on the LastPass icon in your Chrome toolbar. If you already have a LastPass account, enter your email address and master password to log in. If you’re new to LastPass, click on the “Create an Account” link and follow the instructions to set up your account. Make sure to choose a strong and memorable master password, as this is the key to protecting all your stored passwords.
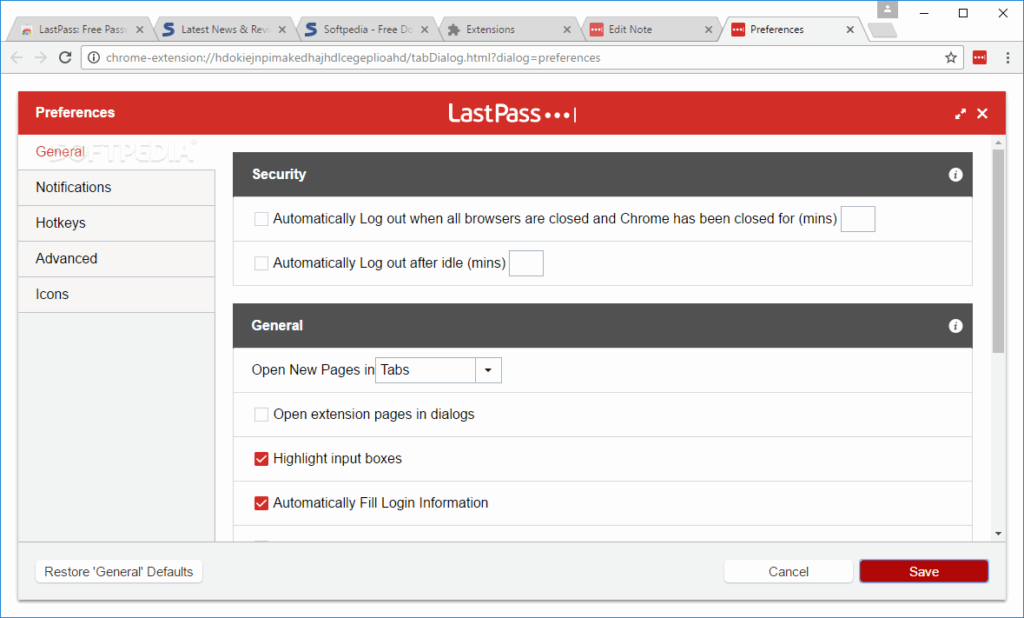
Configuring the LastPass Plugin for Chrome
After installing and logging in to the LastPass plugin for Chrome, you can customize its settings to suit your preferences. Here are some key settings to consider:
General Settings
- Autofill: Enable or disable the automatic filling of usernames and passwords on websites.
- Autologin: Automatically log in to websites after filling in your credentials. Use this feature with caution, as it may pose a security risk on shared devices.
- Show LastPass Icon in Form Fields: Display the LastPass icon in form fields to easily access password options.
Security Settings
- Master Password: Change your master password regularly to maintain a high level of security.
- Multifactor Authentication: Enable multifactor authentication (MFA) for an extra layer of security. This requires you to enter a code from a separate device (e.g., your smartphone) in addition to your master password.
Notifications
- Enable Notifications: Receive notifications from LastPass about security alerts, password breaches, and other important information.
Troubleshooting Common Issues
While the installation process is generally smooth, you might encounter some issues. Here are some common problems and their solutions:
LastPass Icon Not Showing
If the LastPass icon doesn’t appear in your Chrome toolbar, try the following:
- Check Extensions: Go to
chrome://extensionsin your Chrome browser. Make sure the LastPass extension is enabled. If it’s disabled, toggle the switch to enable it. - Restart Chrome: Sometimes, simply restarting Chrome can resolve the issue.
- Reinstall LastPass: If the icon still doesn’t appear, try removing and reinstalling the LastPass plugin for Chrome.
Autofill Not Working
If the autofill feature isn’t working, try these solutions:
- Check Autofill Settings: Ensure that the autofill feature is enabled in the LastPass settings.
- Refresh the Page: Sometimes, refreshing the page can trigger the autofill feature.
- Manually Save the Password: If LastPass doesn’t automatically recognize a login form, you can manually save the password by right-clicking in the username or password field and selecting “Save Password to LastPass.”
Login Issues
If you’re having trouble logging in to LastPass, try these steps:
- Verify Your Master Password: Double-check that you’re entering your master password correctly. Remember that the master password is case-sensitive.
- Password Reset: If you’ve forgotten your master password, you can initiate a password reset. However, be aware that resetting your master password will delete your encrypted data, so make sure you have a strong backup plan in place.
- Check Internet Connection: Ensure that you have a stable internet connection.
Best Practices for Using LastPass
To maximize the benefits and security of LastPass, follow these best practices:
- Use a Strong Master Password: Choose a master password that is at least 12 characters long and includes a combination of uppercase and lowercase letters, numbers, and symbols.
- Enable Multifactor Authentication: Add an extra layer of security by enabling multifactor authentication.
- Regularly Update Your Passwords: Change your passwords regularly, especially for sensitive accounts.
- Use the Password Generator: Utilize the LastPass password generator to create strong, unique passwords for each of your accounts.
- Be Cautious of Phishing: Be wary of phishing emails and websites that attempt to steal your credentials. Always verify the legitimacy of a website before entering your LastPass master password.
- Keep Your Software Updated: Ensure that your LastPass plugin and Chrome browser are always up to date with the latest security patches.
Installing the LastPass plugin for Chrome is a simple yet powerful way to improve your online security and streamline your password management. By following the steps outlined in this guide, you can quickly and easily set up LastPass and start enjoying the benefits of secure and convenient password management. Embrace the peace of mind that comes with knowing your passwords are safe and easily accessible, all thanks to the LastPass plugin for Chrome. [See also: LastPass Security Best Practices] [See also: Choosing a Strong Master Password] [See also: How to Enable Multifactor Authentication in LastPass]
