
How to Stop Pop-Ups on Google Chrome: A Comprehensive Guide
Pop-up ads. We’ve all been there. You’re browsing the internet, researching a new product, catching up on the latest news, or even just trying to watch a funny cat video, and suddenly – BAM! – a new window or tab bursts onto your screen, often filled with flashing animations, questionable offers, or even worse, potentially malicious content. These intrusive interruptions, known as pop-ups, can be incredibly frustrating and even pose a security risk. Thankfully, Google Chrome offers robust built-in tools to block these annoyances and reclaim your browsing experience. This article will provide a comprehensive guide on how to stop pop-ups on Google Chrome effectively, covering various methods and settings to ensure a smoother and safer online journey.
Understanding Pop-Ups and Their Risks
Before diving into the technicalities of blocking pop-ups, it’s crucial to understand what they are and the potential risks they pose. Pop-up ads are generally designed to attract attention and promote products, services, or websites. While some pop-ups may be legitimate advertisements, many are used for more nefarious purposes, such as:
- Malware Distribution: Pop-ups can be used to trick users into downloading and installing malware, viruses, or other harmful software.
- Phishing Scams: Some pop-ups mimic legitimate websites or login screens to steal personal information, such as usernames, passwords, and credit card details.
- Aggressive Advertising: Even if not malicious, excessive pop-ups can be disruptive and annoying, hindering the user experience.
- Browser Hijacking: Certain pop-ups can alter your browser settings without your consent, redirecting you to unwanted websites or changing your homepage.
Given these risks, taking proactive steps to stop pop-ups on Google Chrome is essential for maintaining your online security and enjoying a hassle-free browsing experience. [See also: Understanding Browser Security]
Method 1: Using Chrome’s Built-In Pop-Up Blocker
Google Chrome has a built-in pop-up blocker that is enabled by default. However, it’s still a good idea to verify that it’s active and configured correctly. Here’s how:
Accessing Chrome’s Settings
- Open Google Chrome.
- Click on the three vertical dots (the “Customize and control Google Chrome” menu) in the top-right corner of the browser window.
- Select “Settings” from the dropdown menu.
Navigating to Site Settings
- In the Settings menu, type “pop-ups” into the search bar at the top.
- Alternatively, you can manually navigate to “Privacy and security” and then click on “Site settings”.
- Scroll down to “Content” and click on “Pop-ups and redirects”.
Configuring Pop-Up Blocking
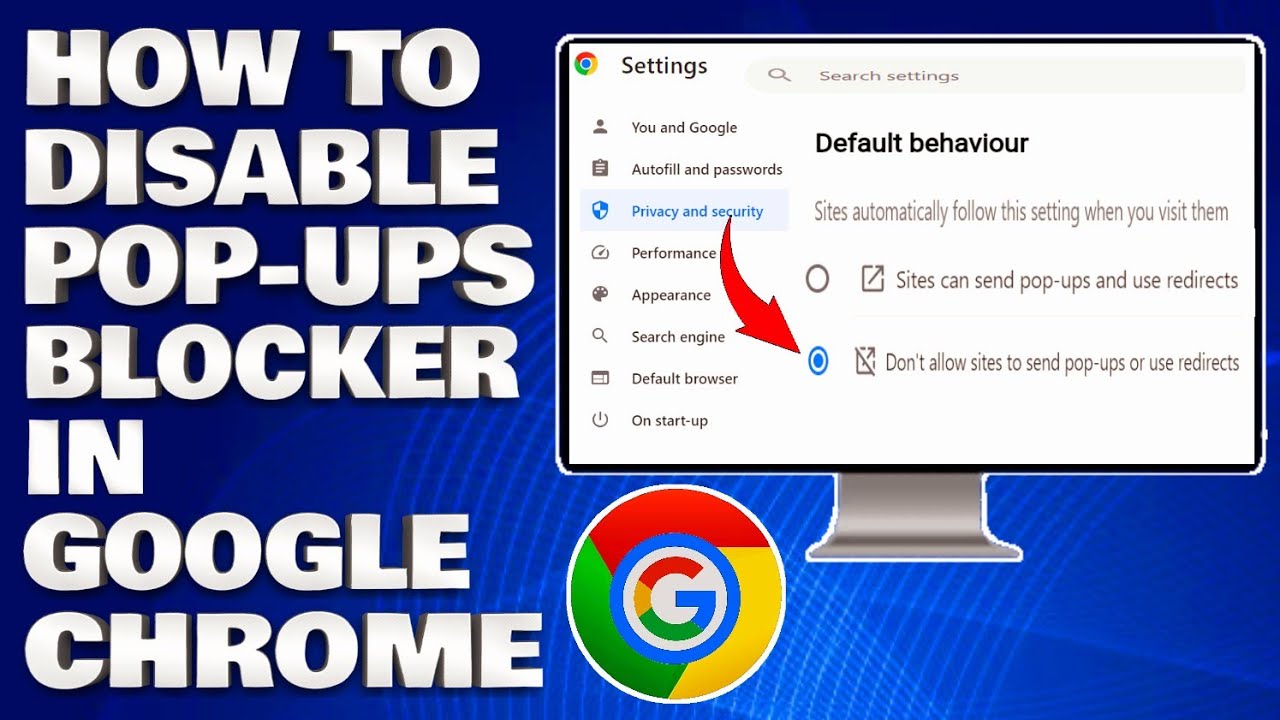
- At the top of the “Pop-ups and redirects” page, you’ll see a toggle switch labeled “Allowed (recommended)”.
- To block all pop-ups, ensure this toggle is switched to the “Blocked” position. When blocked, the text will indicate “Sites can’t send pop-ups or use redirects”.
By default, Chrome blocks most pop-ups. However, some websites may require pop-ups to function correctly (e.g., online banking portals). In such cases, you can add these sites to the “Allowed to send pop-ups and use redirects” list. To do this:
- Click the “Add” button next to “Allowed to send pop-ups and use redirects”.
- Enter the website address (URL) in the provided field and click “Add”.
This will create an exception for that specific website, allowing it to display pop-ups while keeping them blocked for all other sites. Remember to only allow pop-ups from trusted sources. Properly configuring this setting is key to knowing how to stop pop-ups on Google Chrome effectively.
Method 2: Using Browser Extensions to Block Pop-Ups
While Chrome’s built-in pop-up blocker is effective, third-party browser extensions can offer enhanced features and customization options. Several reputable extensions are available that specialize in blocking pop-ups, ads, and tracking scripts. Here are a few popular choices:
- AdBlock: A widely used extension that blocks various types of ads, including pop-ups, banners, and video ads. It also helps protect against malware and tracking.
- Adblock Plus: Another popular ad blocker that uses filter lists to identify and block ads. It also allows users to whitelist specific websites.
- uBlock Origin: A lightweight and efficient ad blocker that uses minimal resources while providing comprehensive protection against ads, pop-ups, and trackers.
- Popup Blocker (Strict): This extension focuses specifically on blocking pop-ups and is designed to be highly effective at preventing even the most persistent pop-ups from appearing.
Installing and Configuring a Pop-Up Blocker Extension
- Open the Chrome Web Store.
- Search for the desired pop-up blocker extension (e.g., “AdBlock”, “uBlock Origin”).
- Click on the extension’s listing and then click the “Add to Chrome” button.
- Confirm the installation by clicking “Add extension” in the prompt that appears.
Once installed, the extension will typically start working automatically. Most extensions provide customization options that allow you to fine-tune their behavior, such as whitelisting websites, enabling specific filter lists, and adjusting blocking settings. Familiarize yourself with the extension’s settings to optimize its performance and tailor it to your specific needs. Using a browser extension can complement Chrome’s built-in blocker and provide an extra layer of defense against unwanted pop-ups, further explaining how to stop pop-ups on Google Chrome.
Method 3: Managing Website Permissions
Websites often request permission to send notifications, access your location, or use your microphone and camera. Granting these permissions can sometimes lead to unwanted pop-ups or intrusive notifications. Reviewing and managing website permissions can help prevent these issues.
Accessing Site Permissions
- Open Google Chrome.
- Click on the three vertical dots in the top-right corner and select “Settings”.
- Navigate to “Privacy and security” and then click on “Site settings”.
Reviewing and Modifying Permissions
In the “Site settings” menu, you’ll find various categories of permissions, such as:
- Notifications: Controls which websites are allowed to send you notifications.
- Location: Manages which websites have access to your location.
- Camera: Controls which websites can access your camera.
- Microphone: Manages which websites can access your microphone.
Click on each category to review the list of websites that have been granted permission. You can revoke permission for any website by clicking the “Block” button next to its name. It’s advisable to be selective with the permissions you grant and only allow trusted websites to access sensitive information. Regularly reviewing these permissions can help prevent unwanted pop-ups and maintain your privacy. This method is another crucial step in understanding how to stop pop-ups on Google Chrome.
Method 4: Clearing Browser Cache and Cookies
Sometimes, persistent pop-ups can be caused by corrupted or outdated browser cache and cookies. Clearing these files can resolve various browsing issues, including unwanted pop-ups.
Clearing Cache and Cookies
- Open Google Chrome.
- Click on the three vertical dots in the top-right corner and select “Settings”.
- Navigate to “Privacy and security” and then click on “Clear browsing data”.
- In the “Time range” dropdown menu, select “All time”.
- Check the boxes next to “Cookies and other site data” and “Cached images and files”.
- Click the “Clear data” button.
Clearing your browser cache and cookies will remove temporary files stored by websites, including login information, preferences, and cached content. While this can resolve pop-up issues, it may also require you to re-login to websites and reconfigure some of your browsing preferences. Regularly clearing your cache and cookies can help maintain a clean and efficient browsing experience. By taking this action, you are actively participating in the process of how to stop pop-ups on Google Chrome.
Method 5: Resetting Chrome to Default Settings
If you’ve tried all the previous methods and are still experiencing persistent pop-up issues, resetting Chrome to its default settings may be necessary. This will remove any custom settings, extensions, and themes that may be causing the problem.
Resetting Chrome
- Open Google Chrome.
- Click on the three vertical dots in the top-right corner and select “Settings”.
- In the Settings menu, type “reset” into the search bar at the top.
- Alternatively, you can manually navigate to “Advanced” and then click on “Reset and clean up”.
- Click on “Restore settings to their original defaults”.
- Confirm the reset by clicking the “Reset settings” button.
Resetting Chrome will disable all extensions, clear temporary data, and restore your browser to its default configuration. Before resetting, consider backing up your bookmarks and passwords, as these will be removed during the process. After resetting, you can re-enable your extensions and customize your settings as needed. This is a more drastic measure, but it can be effective in resolving persistent pop-up issues. Consider this option as a final measure to fully understand how to stop pop-ups on Google Chrome.
Conclusion
Dealing with pop-up ads can be a frustrating experience, but with the right tools and techniques, you can effectively block them and reclaim your browsing experience. By utilizing Chrome’s built-in pop-up blocker, installing reputable browser extensions, managing website permissions, clearing your browser cache and cookies, and, if necessary, resetting Chrome to its default settings, you can significantly reduce the number of pop-ups you encounter and enjoy a safer and more enjoyable online journey. Remember to regularly review your settings and permissions to ensure that your browsing experience remains protected. Knowing how to stop pop-ups on Google Chrome is an essential skill for any internet user in today’s digital landscape. Implement these strategies for a cleaner, safer, and more productive browsing experience. [See also: Best Practices for Online Security]
