Mastering the Craft: How to Use a Smithing Template in Minecraft
Smithing Templates in Minecraft have revolutionized the way players upgrade their armor and tools. These valuable items, introduced in the Trails & Tales update, provide a structured method for customizing and enhancing your gear. Understanding how to use a smithing template is crucial for any Minecraft player looking to optimize their equipment and stand out in the game. This guide will provide a comprehensive overview of smithing templates, covering everything from finding them to utilizing them effectively in the smithing table.
What are Smithing Templates?
Smithing Templates are consumable items used in the smithing table to upgrade or customize equipment. Unlike traditional crafting recipes, smithing templates offer specific upgrade paths, such as Netherite upgrades or visual customization. They guide the player and ensure consistency in the upgrade process. The introduction of smithing templates has made upgrading more structured and predictable, adding a layer of depth to the gameplay.
Types of Smithing Templates
There are several types of smithing templates, each serving a different purpose. The two primary categories are Upgrade Templates and Armor Trim Templates.
Upgrade Templates
The most common upgrade template is the Netherite Upgrade template. This template is essential for upgrading diamond gear to Netherite, which is the strongest material in the game. This template is found primarily in bastion remnants. Without this template, upgrading to netherite is impossible.
Armor Trim Templates
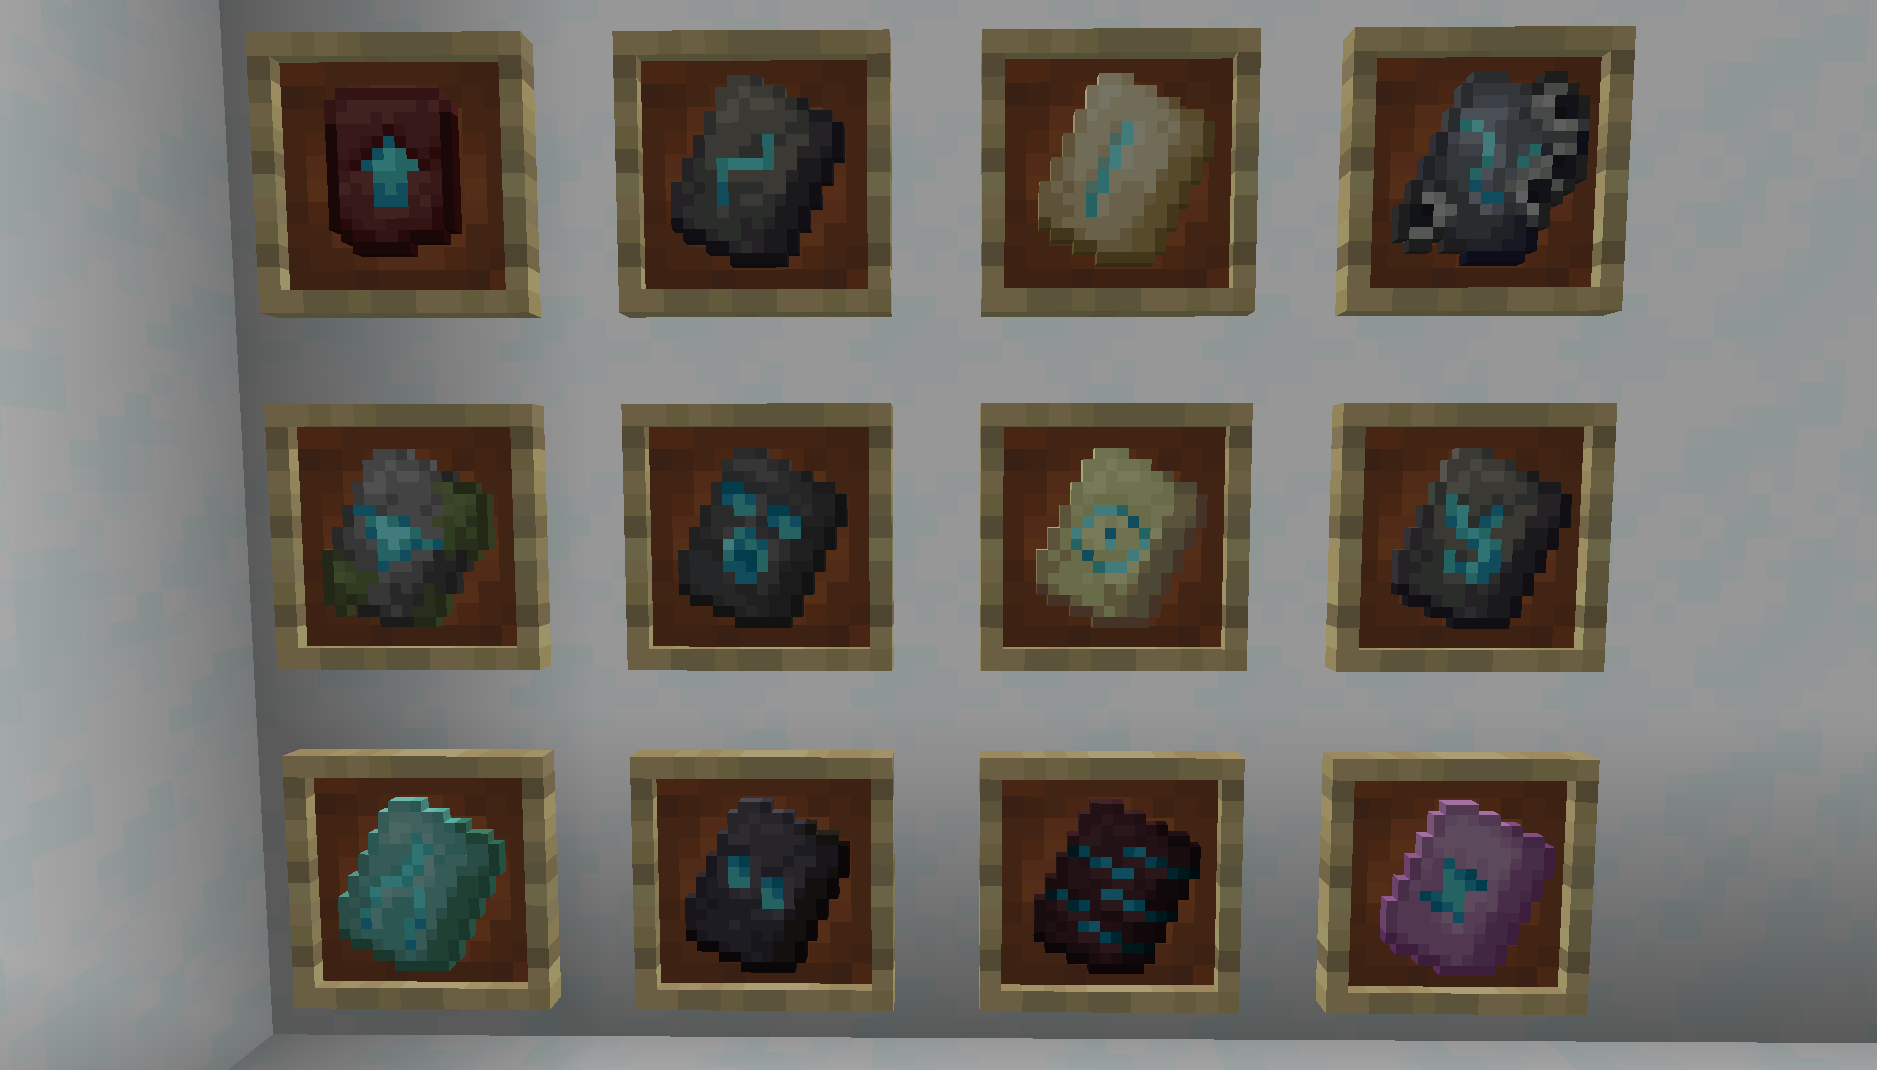
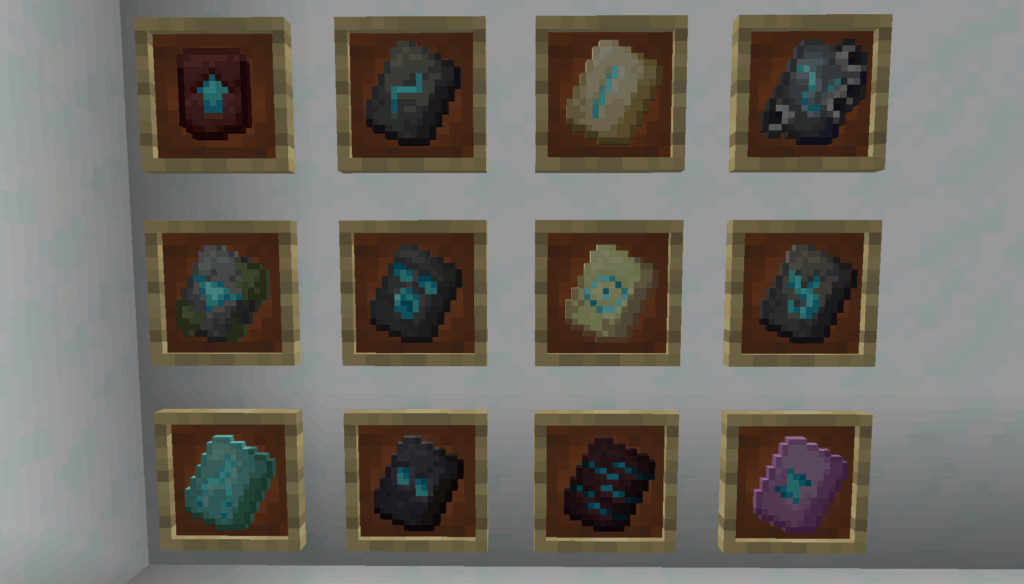
Armor Trim Templates allow players to visually customize their armor with different patterns and materials. Each armor trim template corresponds to a specific design and can be applied using various resources, such as diamonds, emeralds, or even Netherite. The visual customization is a significant draw for players who enjoy personalizing their appearance in the game.
Examples of Armor Trim Templates include:
- Coast Armor Trim: Found in Shipwrecks.
- Dune Armor Trim: Found in Desert Pyramids.
- Eye Armor Trim: Found in Strongholds.
- Host Armor Trim: Found in Ocean Monuments.
- Raiser Armor Trim: Found in Trail Ruins.
- Rib Armor Trim: Found in Nether Fortresses.
- Sentry Armor Trim: Found in Pillager Outposts.
- Shaper Armor Trim: Found in Ancient Cities.
- Silence Armor Trim: Found in Ancient Cities.
- Snout Armor Trim: Found in Bastion Remnants.
- Spire Armor Trim: Found in End Cities.
- Tide Armor Trim: Found from killing Elder Guardians.
- Vex Armor Trim: Found in Woodland Mansions.
- Ward Armor Trim: Found in Ancient Cities.
- Wild Armor Trim: Found in Jungle Temples.
Finding Smithing Templates
Locating smithing templates can be an adventure in itself, as they are scattered throughout various structures in the Minecraft world. The specific location depends on the type of template you’re seeking. Here’s a breakdown of where to find them:
- Netherite Upgrade Template: These are primarily found in Bastion Remnants, specifically in treasure chests. Bastion Remnants are dangerous structures located in the Nether, so be prepared for a fight.
- Armor Trim Templates: As mentioned earlier, these are found in a variety of structures, including desert pyramids, woodland mansions, ocean monuments, and ancient cities. Each structure contains a specific armor trim template, encouraging players to explore different biomes and dungeons.
Exploring these structures requires careful planning and preparation. Ensure you have adequate armor, weapons, and supplies before venturing into dangerous areas like the Nether or Ancient Cities.
How to Use a Smithing Table with Templates
The smithing table is the workstation where you’ll use smithing templates to upgrade and customize your gear. Here’s a step-by-step guide on how to use a smithing template:
- Obtain a Smithing Table: If you don’t already have one, craft a smithing table using four planks and two iron ingots.
- Gather Necessary Materials: Depending on the upgrade or customization you’re aiming for, you’ll need the appropriate smithing template, the item you want to upgrade (e.g., diamond armor), and the required resources (e.g., Netherite ingot for Netherite upgrade, diamonds for armor trim).
- Open the Smithing Table: Interact with the smithing table to open its interface.
- Place the Items: In the smithing table interface, you’ll see three slots. Place the item you want to upgrade in the first slot, the smithing template in the second slot, and the resource required for the upgrade or trim in the third slot.
- Preview the Result: The smithing table will display a preview of the upgraded or customized item. This allows you to see the final result before committing the resources.
- Complete the Upgrade: If you’re satisfied with the preview, click the output slot to obtain the upgraded or customized item.
Using the smithing table is straightforward, but understanding the required materials and the specific effects of each template is essential for achieving the desired outcome. [See also: Minecraft Enchanting Guide]
Step-by-Step Example: Upgrading Diamond Armor to Netherite
Let’s walk through an example of upgrading diamond armor to Netherite using a Netherite Upgrade template:
- Find a Netherite Upgrade Template: Locate a Netherite Upgrade template in a Bastion Remnant.
- Obtain Diamond Armor: Make sure you have a piece of diamond armor that you want to upgrade.
- Gather Netherite Ingots: You’ll need one Netherite Ingot for each piece of armor you want to upgrade. Netherite Ingots are crafted from Netherite Scraps and Gold Ingots.
- Open the Smithing Table: Interact with your smithing table.
- Place the Items: Put the diamond armor in the first slot, the Netherite Upgrade template in the second slot, and the Netherite Ingot in the third slot.
- Complete the Upgrade: Take the resulting Netherite armor from the output slot.
This process will transform your diamond armor into Netherite armor, providing increased durability, protection, and knockback resistance. Netherite armor is a significant upgrade, making you more resilient in combat and exploration. Understanding how to use a smithing template for Netherite upgrades is crucial for end-game progression.
Step-by-Step Example: Applying an Armor Trim
Here’s how to apply an armor trim to your armor:
- Find an Armor Trim Template: Locate an Armor Trim template in the desired structure.
- Obtain Armor: Make sure you have a piece of armor that you want to customize.
- Gather Resources: You’ll need the resource you want to use for the trim. This could be diamonds, emeralds, Netherite ingots, or other valuable materials.
- Open the Smithing Table: Interact with your smithing table.
- Place the Items: Put the armor in the first slot, the Armor Trim template in the second slot, and the resource in the third slot.
- Complete the Customization: Take the resulting trimmed armor from the output slot.
This process allows you to visually customize your armor, adding a personal touch to your appearance in the game. Experimenting with different templates and resources can lead to unique and stylish armor designs. Knowing how to use a smithing template for armor trims opens up a world of customization possibilities.
Duplicating Smithing Templates
Smithing Templates can be duplicated using a crafting table. This is extremely useful to prevent having to search for more templates. To duplicate a smithing template, you need the template you wish to duplicate, seven diamonds, and one block that corresponds to the biome the template is found in. For example, to duplicate a Coast Armor Trim, you need a Coast Armor Trim, seven diamonds, and a cobblestone block. The stone block can be any variant; cobblestone, deepslate, tuff, etc. Duplicating templates is a great way to customize all of your armor with the same trim, or to upgrade multiple sets of armor to netherite.
Tips and Tricks for Using Smithing Templates
- Prioritize Netherite Upgrades: Netherite armor and tools are significantly stronger than diamond, so prioritize upgrading your most essential gear first.
- Explore Different Structures: Venture into various structures to collect different armor trim templates and resources for customization.
- Plan Your Upgrades: Consider the resources required for each upgrade and plan your mining and exploration accordingly.
- Experiment with Customization: Don’t be afraid to experiment with different armor trim templates and resources to create unique and personalized armor designs.
- Use a Grindstone: If you accidentally apply the wrong trim, a grindstone can remove it, allowing you to start over.
The Importance of Smithing Templates in Minecraft
Smithing templates have significantly impacted the gameplay of Minecraft by introducing a structured and customizable approach to upgrading equipment. They provide a clear progression path for players seeking to enhance their gear and offer a creative outlet for those who enjoy visual customization. How to use a smithing template is a fundamental skill for any serious Minecraft player.
The addition of armor trims has also added a new layer of personalization to the game. Players can now express their individuality through unique armor designs, making their characters stand out in multiplayer environments. The search for different armor trim templates encourages exploration and rewards players who venture into diverse biomes and structures.
Conclusion
Smithing Templates are an essential part of Minecraft, offering a structured and customizable way to upgrade and personalize your gear. Whether you’re striving for the ultimate Netherite armor or creating a unique and stylish look with armor trims, understanding how to use a smithing template is crucial for success. By following the tips and guidelines outlined in this guide, you’ll be well-equipped to master the art of smithing and make the most of these valuable items in your Minecraft adventures. So, grab your smithing table, gather your resources, and start crafting your way to the top!
