Mastering Your Chromebook’s Audio Settings: A Comprehensive Guide
Chromebooks, known for their simplicity and web-centric approach, are increasingly popular for education, work, and casual use. A crucial aspect of any computing experience is audio, and understanding your Chromebook’s audio settings is vital for optimal performance. Whether you’re attending virtual meetings, enjoying music, or watching videos, correctly configured audio settings ensure a smooth and enjoyable experience. This guide provides a comprehensive overview of how to navigate and customize the audio settings on your Chromebook.
Accessing and Understanding Basic Audio Settings
The first step in mastering your Chromebook’s audio settings is knowing how to access them. There are a few ways to do this:
- Quick Settings Menu: Click on the system tray in the bottom right corner of your screen. This opens the Quick Settings menu. Look for the volume slider, which is the most immediate access point for adjusting output volume.
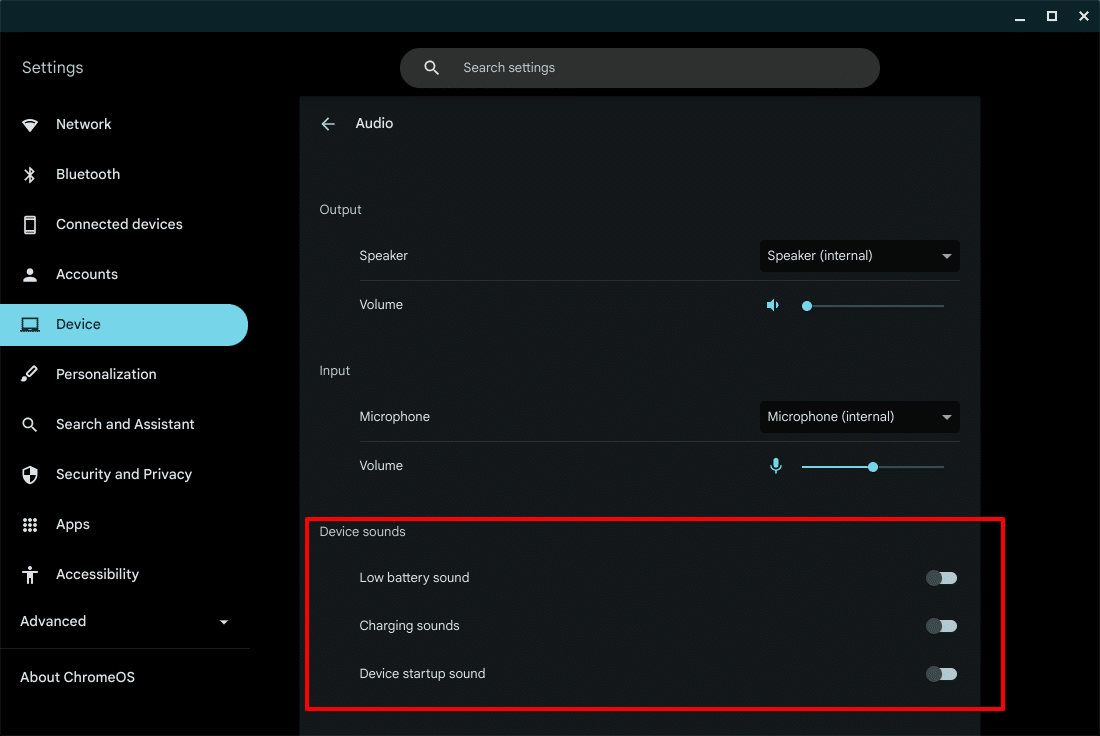
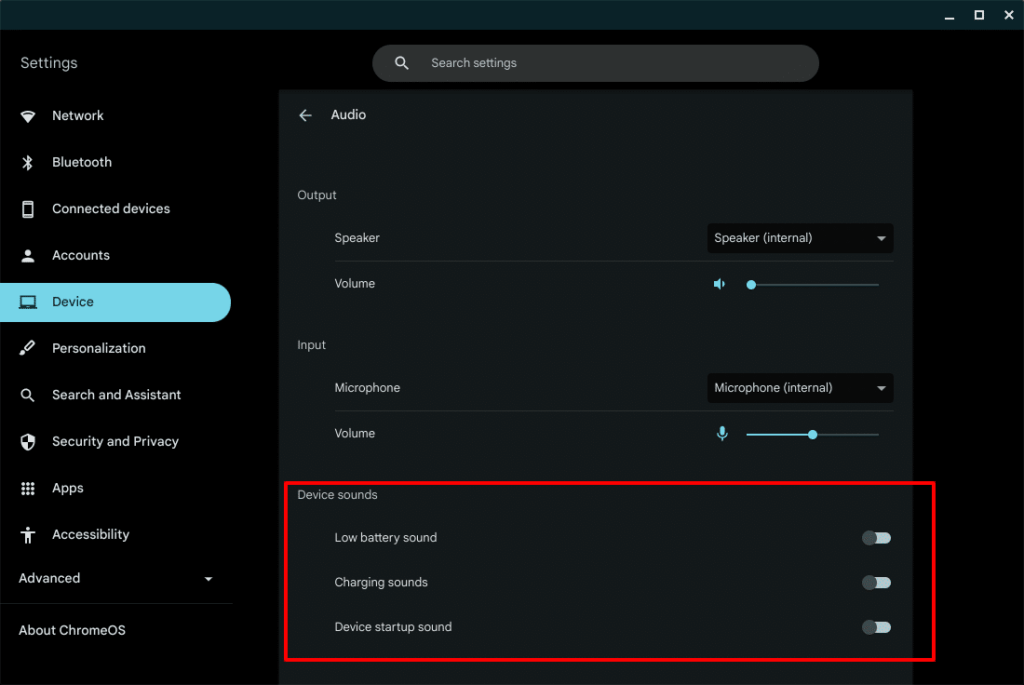
- Settings App: Click on the system tray and then the gear icon to open the Settings app. Navigate to the ‘Device’ section, where you’ll find ‘Audio’ settings.
- Keyboard Shortcuts: Chromebooks typically have dedicated keys for volume up, volume down, and mute. These offer quick adjustments without navigating through menus.
Once you’ve accessed the audio settings, you’ll encounter several basic options:
- Output Volume: This slider controls the overall volume of your Chromebook’s speakers or connected headphones.
- Input Volume: This slider adjusts the sensitivity of your microphone. It’s important for ensuring clear audio during calls and recordings.
- Output Device Selection: This allows you to choose where the sound is played – internal speakers, headphones, or a connected Bluetooth device.
- Input Device Selection: This lets you select which microphone is used for audio input – the built-in microphone or an external microphone.
Advanced Audio Settings and Customization
While the basic audio settings provide essential controls, Chromebooks also offer more advanced customization options. These can be found within the Settings app, often under the ‘Advanced’ section or within specific app settings.
Adjusting Input and Output Devices
Selecting the correct input and output devices is crucial, especially when using external microphones or headphones. Chromebooks usually detect connected devices automatically, but manual selection may be necessary. To do this, navigate to the ‘Audio’ section in the Settings app and choose your preferred devices from the dropdown menus.
Microphone Sensitivity and Noise Cancellation
Adjusting microphone sensitivity is vital for clear audio input. If your microphone is too sensitive, it may pick up background noise. Conversely, if it’s not sensitive enough, your voice may sound faint. Some Chromebooks offer built-in noise cancellation features, which can help reduce background noise during calls. These settings can usually be found within the ‘Audio’ section or within the settings of specific apps like Google Meet or Zoom.
Sound Effects and Equalization
While Chromebooks don’t typically offer extensive sound equalization options like some desktop operating systems, certain apps and extensions can provide this functionality. These tools allow you to customize the sound output to your preferences, adjusting frequencies to enhance bass, treble, or specific vocal ranges. Search the Chrome Web Store for equalizer extensions to find options that suit your needs. Keep in mind that some extensions may require permissions to access your audio, so choose reputable options.
Troubleshooting Common Audio Issues
Even with properly configured audio settings, you may occasionally encounter audio issues. Here are some common problems and their solutions:
- No Sound: First, ensure that the volume is not muted and that the output device is correctly selected. Check if the correct output device is selected. Restarting your Chromebook can also resolve temporary glitches.
- Low Volume: Increase the output volume using the slider in the Quick Settings menu or the keyboard shortcuts. Also, check the volume levels within specific apps, as they may have their own volume controls.
- Distorted Sound: Distorted sound can be caused by a faulty audio device or incorrect audio settings. Try using a different pair of headphones or speakers to see if the problem persists. If the issue is software-related, resetting your Chromebook to its factory settings might help.
- Microphone Not Working: Ensure that the correct input device is selected and that the microphone is not muted. Check the microphone permissions for the app you’re using, as some apps may require explicit permission to access your microphone.
- Bluetooth Audio Issues: If you’re experiencing issues with Bluetooth audio, ensure that your Bluetooth device is properly paired with your Chromebook. Try unpairing and re-pairing the device. Also, check for any interference from other Bluetooth devices or Wi-Fi signals.
Audio Settings within Specific Apps
Many apps on Chromebooks, such as Google Meet, Zoom, and various media players, have their own dedicated audio settings. These settings allow you to further customize your audio experience within the app. For example, in Google Meet, you can select your preferred microphone and speaker, adjust microphone gain, and enable noise cancellation. Familiarizing yourself with the audio settings within these apps is crucial for optimal audio performance.
Google Meet Audio Settings
Google Meet is a popular video conferencing platform, and its audio settings are essential for clear communication. To access these settings, click on the three dots in the bottom right corner of the Meet window and select ‘Settings.’ In the ‘Audio’ section, you can choose your microphone and speaker, adjust microphone gain, and enable noise cancellation. Experiment with these settings to find the optimal configuration for your environment.
Zoom Audio Settings
Zoom is another widely used video conferencing platform with its own set of audio settings. To access these settings, click on your profile picture in the top right corner of the Zoom window and select ‘Settings.’ In the ‘Audio’ section, you can choose your microphone and speaker, adjust microphone gain, and enable noise suppression. Zoom also offers a ‘Test Speaker’ and ‘Test Mic’ feature, which allows you to verify that your audio devices are working correctly. [See also: Zoom Meeting Audio Troubleshooting Guide].
Media Player Audio Settings
Media players on Chromebooks, such as VLC or web-based players like YouTube, also have their own audio settings. These settings typically allow you to adjust the volume, select the output device, and enable or disable audio enhancements. Explore the settings within your preferred media player to customize your audio experience.
Using Audio Extensions and Apps
The Chrome Web Store offers a variety of audio extensions and apps that can enhance your Chromebook’s audio settings. These tools can provide features such as equalization, volume boosting, and audio recording. However, it’s important to choose reputable extensions and apps, as some may contain malware or compromise your privacy.
Equalizer Extensions
Equalizer extensions allow you to customize the sound output of your Chromebook, adjusting frequencies to enhance bass, treble, or specific vocal ranges. These extensions can be particularly useful for users who want to fine-tune their audio experience. Popular equalizer extensions include ‘Audio Equalizer’ and ‘EQ Audio Equalizer.’
Volume Booster Extensions
Volume booster extensions can increase the maximum volume of your Chromebook’s speakers or headphones. These extensions can be helpful for users who find the default volume levels too low. However, be cautious when using volume booster extensions, as excessively high volume levels can damage your speakers or headphones.
Audio Recording Apps
Audio recording apps allow you to record audio using your Chromebook’s microphone. These apps can be useful for creating voice memos, recording interviews, or capturing audio from online sources. Popular audio recording apps include ‘Online Voice Recorder’ and ‘Vocaroo.’ [See also: Best Chromebook Apps for Students]
Optimizing Audio Settings for Different Scenarios
The ideal audio settings for your Chromebook will vary depending on the scenario. For example, the audio settings for a virtual meeting will differ from those for listening to music or watching a movie.
Virtual Meetings
For virtual meetings, it’s crucial to ensure clear audio input and output. Select the correct microphone and speaker, adjust microphone gain to an appropriate level, and enable noise cancellation if available. Test your audio settings before the meeting to ensure that everything is working correctly.
Music Listening
For music listening, you may want to customize the sound output to your preferences using an equalizer extension. Adjust the frequencies to enhance bass, treble, or specific vocal ranges. Experiment with different audio settings to find the optimal configuration for your listening experience.
Movie Watching
For movie watching, you may want to adjust the volume to a comfortable level and select the appropriate output device. If you’re using headphones, ensure that they are properly connected and that the volume is not too high. You may also want to enable audio enhancements, such as surround sound, if available.
Conclusion
Mastering your Chromebook’s audio settings is essential for a smooth and enjoyable computing experience. By understanding the basic and advanced audio settings, troubleshooting common issues, and optimizing audio settings for different scenarios, you can ensure that your Chromebook delivers optimal audio performance. Whether you’re attending virtual meetings, enjoying music, or watching videos, correctly configured audio settings will enhance your overall experience. Remember to explore the audio settings within specific apps and consider using audio extensions to further customize your audio experience. By taking the time to understand and customize your Chromebook’s audio settings, you can unlock its full potential and enjoy a truly immersive audio experience. The flexibility Chromebooks offer in adjusting audio settings is often overlooked, but it’s a key component in tailoring the device to your specific needs and preferences. Don’t be afraid to experiment and find what works best for you. Proper audio settings can significantly improve your productivity and enjoyment when using your Chromebook. Learning to navigate the audio settings is a worthwhile investment in your overall Chromebook experience. You’ll find that having the right audio settings makes all the difference in your daily tasks and entertainment. In conclusion, taking control of your Chromebook’s audio settings empowers you to create a personalized and optimized audio environment, enhancing your overall computing experience.
