
Seamless Connections: Mastering Video Calls on Your Chromebook
Chromebooks have evolved from simple web browsing devices to versatile tools for work, education, and communication. One of their key capabilities is making video calls. Whether you’re connecting with colleagues, attending online classes, or catching up with family, understanding how to effectively make a video call on a Chromebook is essential. This comprehensive guide will walk you through the process, covering everything from choosing the right app to troubleshooting common issues.
Choosing the Right Video Calling App
The first step in making a successful video call on a Chromebook is selecting the right application. Several options are available, each with its own strengths and weaknesses. Here are some of the most popular choices:
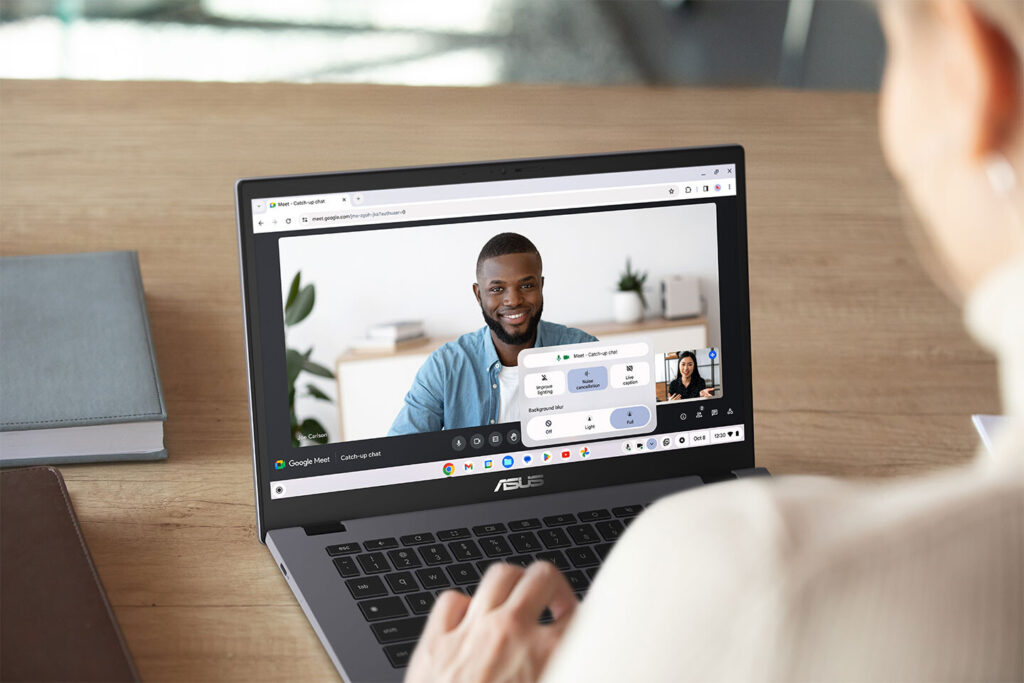
- Google Meet: Integrated directly into the Chrome OS, Google Meet is a natural choice for Chromebook users. It offers seamless integration with Google Calendar, making scheduling and joining meetings a breeze. It’s also known for its robust features, including screen sharing and noise cancellation.
- Zoom: A widely used platform for both personal and professional video calls, Zoom is available as a web app and a Chrome extension. It boasts a user-friendly interface and a wide range of features, such as virtual backgrounds and breakout rooms.
- Skype: One of the original video call platforms, Skype remains a popular option for connecting with friends and family. It’s available as a web app, making it accessible on Chromebooks without the need for installation.
- Microsoft Teams: Primarily used in business settings, Microsoft Teams offers a comprehensive suite of collaboration tools, including video calling. It integrates seamlessly with other Microsoft Office applications.
- Webex: Another popular platform for business meetings, Webex offers a secure and reliable video calling experience. It’s known for its advanced features, such as transcription and recording.
Consider factors such as the number of participants, desired features, and ease of use when choosing a video calling app. Most offer free plans with limited features, allowing you to try them out before committing to a paid subscription.
Setting Up Your Chromebook for Video Calls
Before you can start making video calls, you need to ensure that your Chromebook is properly configured. This involves checking your camera and microphone settings, as well as granting the necessary permissions to the chosen app.
Checking Camera and Microphone
Most Chromebooks come with a built-in webcam and microphone. To ensure they are working correctly, follow these steps:
- Open the Chrome browser.
- Type “chrome://settings/content/camera” in the address bar and press Enter.
- Make sure your desired camera is selected.
- Repeat the process for the microphone by typing “chrome://settings/content/microphone” in the address bar.
- Adjust the volume levels as needed.
You can also test your camera and microphone using online tools or within the settings of your chosen video calling app.
Granting Permissions
When you first use a video calling app, it will typically ask for permission to access your camera and microphone. Make sure to grant these permissions to allow the app to function correctly. If you accidentally deny permission, you can change it in the Chrome settings:
- Open the Chrome browser.
- Click on the three dots in the top right corner.
- Select “Settings.”
- Click on “Privacy and security.”
- Click on “Site settings.”
- Find the app in the list and click on it.
- Allow access to your camera and microphone.
Making Your First Video Call on a Chromebook
Once you’ve chosen an app and configured your Chromebook, you’re ready to make your first video call. The process will vary slightly depending on the app you’re using, but the general steps are similar:
- Open the video calling app.
- Sign in or create an account if necessary.
- Find the person you want to call in your contacts list or enter their email address or phone number.
- Click on the video call button.
- Wait for the other person to answer.
During the video call, you can typically adjust your camera and microphone settings, mute yourself, share your screen, and send chat messages.
Tips for a Successful Video Call Experience
To ensure a smooth and enjoyable video call experience on your Chromebook, consider the following tips:
- Ensure a stable internet connection: A weak or unstable internet connection can cause choppy video and audio. Use a wired connection if possible, or move closer to your Wi-Fi router.
- Choose a well-lit environment: Good lighting is essential for clear video. Avoid backlighting, which can make you appear as a silhouette.
- Minimize background noise: Find a quiet place to make your video call. Close windows and doors to reduce external noise.
- Position your camera correctly: Place your Chromebook at eye level to avoid looking down at the camera.
- Dress appropriately: Dress as you would for an in-person meeting.
- Test your equipment beforehand: Before an important video call, test your camera, microphone, and internet connection to ensure everything is working properly.
- Be mindful of your background: Choose a clean and uncluttered background. Consider using a virtual background to hide distractions.
- Mute yourself when not speaking: This helps to reduce background noise and prevent distractions.
- Be present and engaged: Pay attention to the conversation and avoid multitasking.
Troubleshooting Common Video Call Issues
Even with the best preparation, you may encounter issues during a video call. Here are some common problems and how to fix them:
- No video or audio: Check your camera and microphone settings, and make sure the app has permission to access them. Restart your Chromebook if necessary.
- Choppy video or audio: This is usually caused by a weak internet connection. Try moving closer to your Wi-Fi router or using a wired connection.
- Echoing: This can be caused by multiple devices with microphones in the same room. Mute one of the devices or use headphones.
- App crashes: Try closing and reopening the app. If the problem persists, try uninstalling and reinstalling the app.
If you continue to experience problems, consult the help documentation for your chosen video calling app or contact their support team.
The Future of Video Calls on Chromebooks
As Chromebooks continue to evolve, their video calling capabilities are likely to improve as well. We can expect to see more advanced features, such as AI-powered noise cancellation and improved video quality. Integration with other Google services will also become even more seamless. [See also: Google Workspace on Chromebooks] The demand for remote communication is not going away, making video call functionality on chromebooks vital for many users.
In conclusion, making a video call on a Chromebook is a straightforward process that can enhance your communication and collaboration. By choosing the right app, configuring your Chromebook properly, and following the tips outlined in this guide, you can enjoy a seamless and productive video calling experience. Whether you’re using video call for work, education, or personal connections, your Chromebook is a capable device for staying connected. The ease of using a video call on a Chromebook makes it an essential tool in today’s digital landscape.
