
Unlocking Power: A Comprehensive Guide to Hollow Knight Charms
Hollow Knight, the critically acclaimed Metroidvania from Team Cherry, is renowned for its challenging gameplay, intricate world, and deep lore. A core element of the game’s customization and strategic depth lies in its charm system. These equippable items grant the Knight a wide array of passive abilities, fundamentally altering playstyles and offering solutions to overcome specific challenges. This guide provides a comprehensive overview of Hollow Knight charms, exploring their locations, effects, and strategic applications.
Understanding the Charm System
The charm system in Hollow Knight allows players to customize the Knight’s abilities by equipping charms found throughout Hallownest. Each charm occupies a certain number of notches, which are limited. This restriction forces players to make meaningful choices about which charms to equip, creating diverse builds tailored to different situations and playstyles. Finding all the Hollow Knight charms is a significant undertaking, encouraging exploration and rewarding curiosity.
Charm Notches
The Knight begins with a limited number of charm notches. More can be acquired throughout the game, expanding the possibilities for charm combinations. Finding these extra notches is crucial for maximizing the potential of the charm system. Knowing which Hollow Knight charms require more notches is key to build planning.
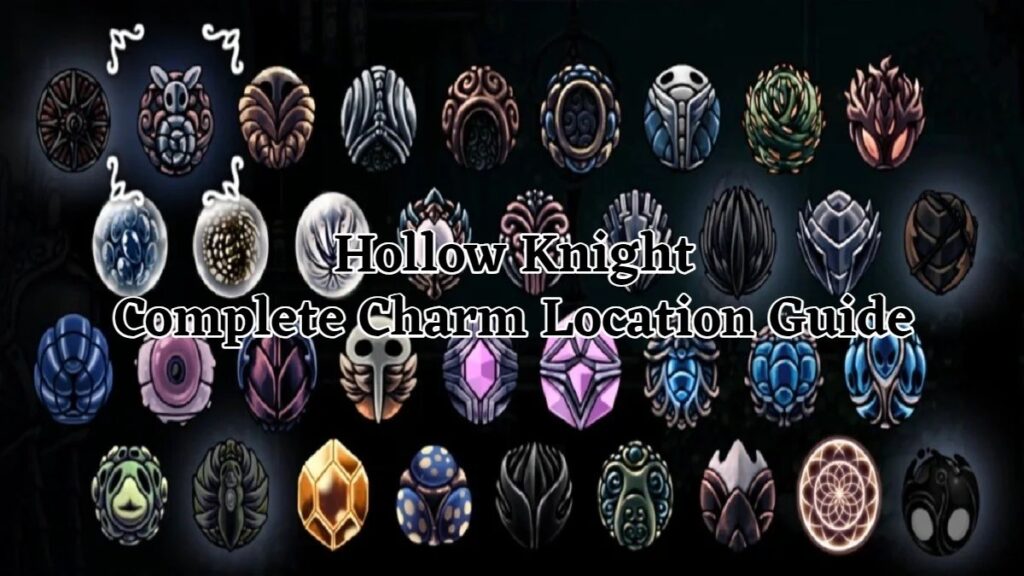
The Complete List of Hollow Knight Charms
Here’s a detailed list of every charm in Hollow Knight, including their effects and locations:
- Gathering Swarm: Summons a swarm of tiny creatures that automatically collect Geo. Location: Dirtmouth.
- Stalwart Shell: Makes the Knight invulnerable for longer after taking damage. Location: Forgotten Crossroads.
- Soul Catcher: Increases the amount of Soul gained when striking enemies with the Nail. Location: Forgotten Crossroads.
- Soul Eater: Greatly increases the amount of Soul gained when striking enemies with the Nail. Location: Resting Grounds.
- Shaman Stone: Increases the power of spells. Location: Forgotten Crossroads.
- Spell Twister: Reduces the Soul cost of spells. Location: City of Tears.
- Longnail: Increases the range of the Nail. Location: Forgotten Crossroads.
- Mark of Pride: Greatly increases the range of the Nail. Location: Mantis Village.
- Fury of the Fallen: When at 1 health, greatly increases Nail damage. Location: Fragile Greed’s location after breaking.
- Quick Focus: Increases the speed of Focus. Location: Forgotten Crossroads.
- Deep Focus: Focuses twice as much Soul and heals two health, but Focuses slower. Location: Crystal Peak.
- Lifeblood Heart: Increases maximum health by two Lifeblood masks. Location: Abyss.
- Lifeblood Core: Increases maximum health by four Lifeblood masks. Location: Abyss.
- Jonis Blessing: Converts all health to Lifeblood masks. Location: Ancient Basin.
- Spore Shroom: When using Focus, emits a cloud of poisonous spores. Location: Fungal Wastes.
- Sharp Shadow: When using Shade Cloak, deals damage to enemies passed through. Location: Deepnest.
- Shape of Unn: While Focusing, the Knight can move. Location: Greenpath.
- Baldur Shell: While Focusing, protects the Knight with a shell that absorbs damage. Location: Howling Cliffs.
- Thorns of Agony: When taking damage, retaliates with a burst of thorns. Location: Greenpath.
- Mark of Markoth: Increases the chance to hit enemies. Location: Forgotten Crossroads.
- Quick Slash: Increases the speed of Nail attacks. Location: Kingdom’s Edge.
- Steady Body: Prevents the Knight from being knocked back when hitting enemies. Location: Forgotten Crossroads.
- Heavy Blow: Increases the knockback of Nail attacks. Location: Forgotten Crossroads.
- Flukenest: Transforms Vengeful Spirit into a barrage of flukes. Location: Royal Waterways.
- Defender’s Crest: Emits a foul odour. Allies take less damage. Location: Royal Waterways.
- Glowing Womb: Spawns hatchlings that consume Soul to attack enemies. Location: Forgotten Crossroads.
- Weaversong: Summons weaverlings that attack enemies. Location: Deepnest.
- Grubsong: When taking damage, gain Soul. Location: Forgotten Crossroads.
- Sprintmaster: Increases movement speed. Location: Forgotten Crossroads.
- Dream Wielder: Increases the speed of charging the Dream Nail. Location: Resting Grounds.
- Dreamshield: Summons a shield that orbits the Knight and blocks projectiles. Location: Resting Grounds.
- Grimmchild: Summons a Grimmchild that attacks enemies. Location: Dirtmouth.
- Carefree Melody: Occasionally deflects incoming damage. Location: Dirtmouth.
- Kingsoul: Slowly regenerates Soul. Location: White Palace.
- Void Heart: Unlocks new endings. Location: Abyss.
Strategic Charm Combinations and Builds
The true power of the charm system lies in combining charms to create synergistic builds. Here are a few examples:
The Spellcaster Build
This build focuses on maximizing spell damage and efficiency. Key charms include Shaman Stone, Spell Twister, and Soul Eater (or Soul Catcher). This combination allows for frequent and powerful spellcasting, making it effective against bosses and groups of enemies. Efficient use of Hollow Knight charms is crucial for this build.
The Nailmaster Build
This build emphasizes Nail damage and attack speed. Essential charms are Quick Slash, Mark of Pride (or Longnail), and Steady Body. Fury of the Fallen can be added for extreme damage output at low health. Mastering the Nail is essential for maximizing the effectiveness of this build. Experimenting with different Hollow Knight charms is encouraged.
The Tank Build
This build prioritizes survivability and defense. Useful charms include Stalwart Shell, Quick Focus, and Baldur Shell. Lifeblood charms can further increase health. This build is ideal for players who prefer a more cautious approach or are struggling with challenging bosses. Finding the right Hollow Knight charms for this playstyle is important.
The Minion Master Build
This build focuses on utilizing the various minion charms to deal damage and distract enemies. The core charms include Glowing Womb, Weaversong, and Grubsong. Defender’s Crest can also be added for its unique effect. This build can be quite effective against enemies that are easily distracted. Understanding the synergy between Hollow Knight charms is vital.
Finding Hidden Charms and Notches
Many charms and notches are hidden throughout Hallownest, requiring careful exploration and puzzle-solving. Some are rewards for completing challenging platforming sections, while others are obtained by defeating optional bosses or fulfilling specific requirements. Paying close attention to the environment and interacting with NPCs is crucial for uncovering these secrets. The quest for Hollow Knight charms is an adventure in itself.
For example, some charms are only accessible after acquiring specific abilities, such as the Shade Cloak or Crystal Heart. Others are hidden behind breakable walls or require the use of the Dream Nail. The game encourages players to revisit previously explored areas with new abilities, rewarding them with valuable upgrades and items. Discovering all the Hollow Knight charms requires patience and dedication.
Charm Synergies and Anti-Synergies
While many charms synergize well with each other, some combinations can be counterproductive. For example, combining Deep Focus with Quick Focus might seem beneficial, but the increased Focus time from Deep Focus can negate the speed increase from Quick Focus, resulting in a less efficient healing strategy. Understanding these interactions is crucial for optimizing charm builds. Some Hollow Knight charms work better in isolation.
Similarly, using Fury of the Fallen with charms that increase survivability, such as Lifeblood Heart or Stalwart Shell, can be counterintuitive, as the charm’s effect only activates when the Knight is at 1 health. Carefully considering the intended playstyle and the effects of each charm is essential for creating effective and balanced builds. Analyzing the individual Hollow Knight charms is a key part of the process.
The Importance of Adaptation
One of the most important aspects of the charm system is its flexibility. Players should be prepared to adapt their charm builds to suit different situations and challenges. A build that is effective against one boss might be completely useless against another. Experimenting with different charm combinations and learning to recognize which charms are most effective in different situations is crucial for mastering the game. Don’t be afraid to swap out Hollow Knight charms frequently.
For example, a build that relies heavily on Nail damage might be less effective against bosses with high armor or ranged attacks. In such cases, switching to a spell-based build or a build that emphasizes mobility and evasion might be more advantageous. Similarly, a build that is designed for exploration might not be optimal for boss fights. The ability to adapt and adjust charm builds is a key skill for any Hollow Knight player.
Conclusion: Mastering the Charms of Hallownest
The charm system in Hollow Knight is a complex and rewarding aspect of the game. By understanding the effects of each charm, experimenting with different combinations, and adapting to different situations, players can unlock the full potential of the Knight and overcome even the most challenging obstacles. Whether you prefer a spell-slinging mage, a relentless warrior, or a resilient tank, there is a charm build that suits your playstyle. The journey to collect and master all the Hollow Knight charms is a testament to the game’s depth and replayability. So, venture forth into Hallownest, discover the secrets of the charms, and forge your own path to victory.
[See also: Hollow Knight Boss Guide]
[See also: Hollow Knight Lore Explained]
[See also: Hollow Knight Hidden Areas]
